Monday, May 26, 2008

The makings of a high tech tank

It is time to reveal my new tank, but first, a look at it's components.

The tank I am using is a 40 gallon breeder, dimensions 36x18x16.
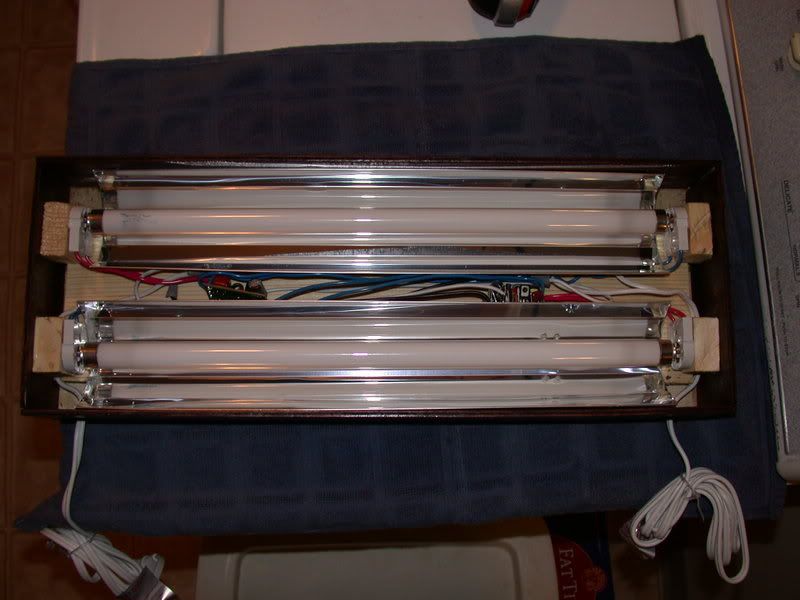
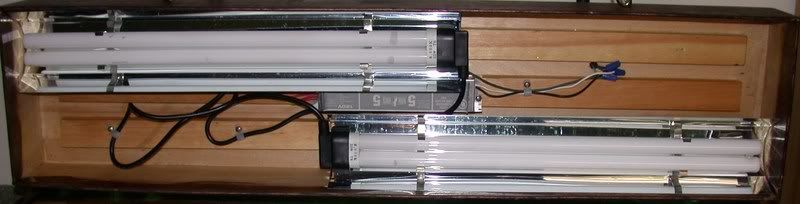
The lighting is a pair of 55 watt compact fluorescent bulbs, with high quality reflectors. This should provide enough light to grow any plant available, but still low enough to keep growth slow enough to be manageable.


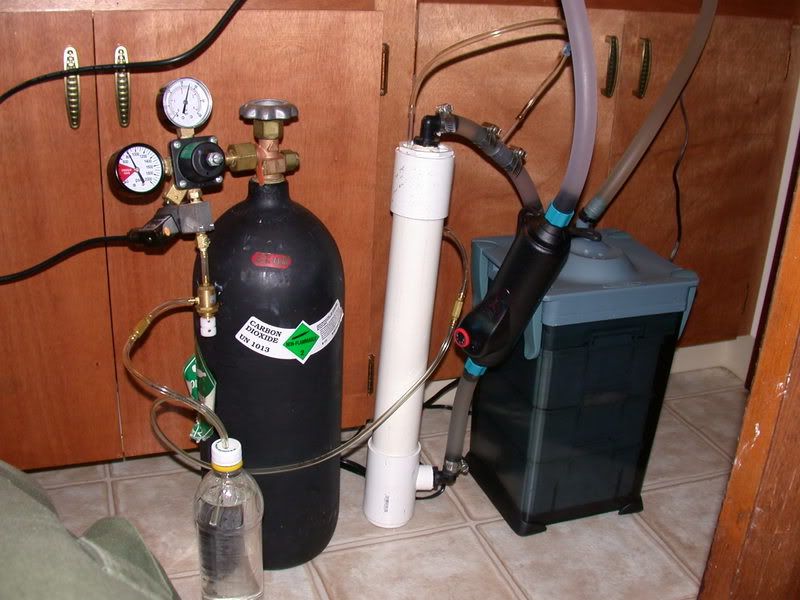
The plumbing is driven by a Rena Xp3 cannister filter, which cleans the water and provides a home for the bacterium necessary for aquatic life.
The water is then directed through a CO2 reactor, which churnes bubbles of carbon dioxide into the water. From there the water passes through an inline heater, and back into the tank.

This shot of a leak test:

Nutrients are provided through additions of dry fertilizers, and the water is kept nice and clean with weekly water changes of half the tank water.

The results, an algae free tank full of healthy growing plants.
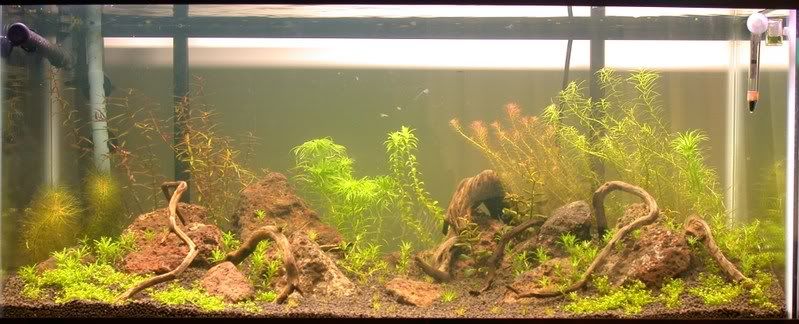

The plants should be grown in enough to start shaping and propagating them very soon.

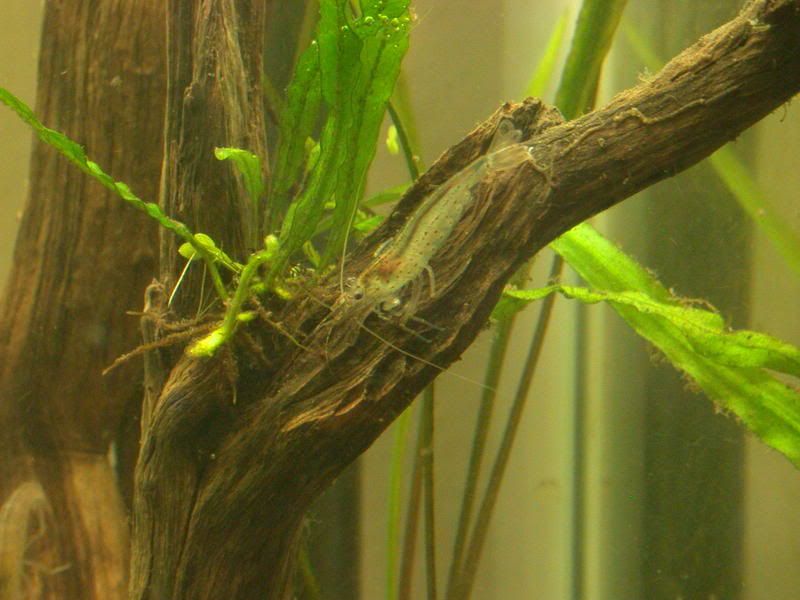
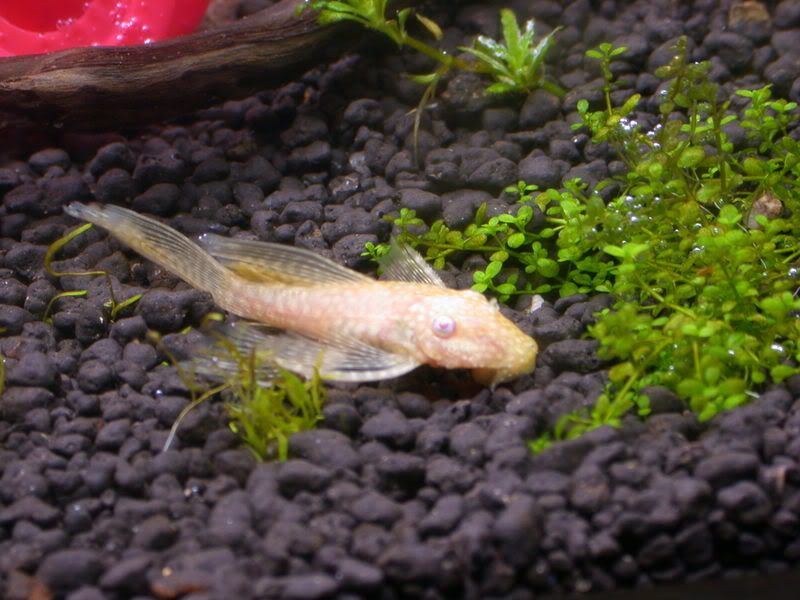
Here is the solitary current resident of the tank, more to come soon!
Sunday, April 27, 2008

15 gallon update

The 15 gallon has been planted for nearly a month now, and it has survived a fungus outbreak, a diatom algae outbreak, and is fighting of a minor black beard algae fit.
It is now inhabited by pond snails, mini ramshorn snails, and some type of tiny white worms, as well as a single introduced species, 3 amano shrimp.


The plants are all healthy and growing new leaves. The floating plants need to be thinned once a week or more. All with nothing but a bit of top off water and a pinch of various fertilizer powders weekly. Once set up, low light tanks are extremely easy to maintain!

Equipment for the 15 gallon

One of the beauties of a low light tank, is that the equipment demands are very low.
Everything can be purchased at even the worst of pet stores, and for a relatively low price.

Here is the list for the 15 gallon:
A hang on the back filter, in this case, an Aquaclear 30,
A cheapo powerhead (aquarist term for submersible pump used for water movement),
A submersible heater, in this case a 100 watt marineland visi-therm stealth,
and a home made lighting fixture with 2x15 watt fluorescent bulbs.

The set up of powerhead and heater:


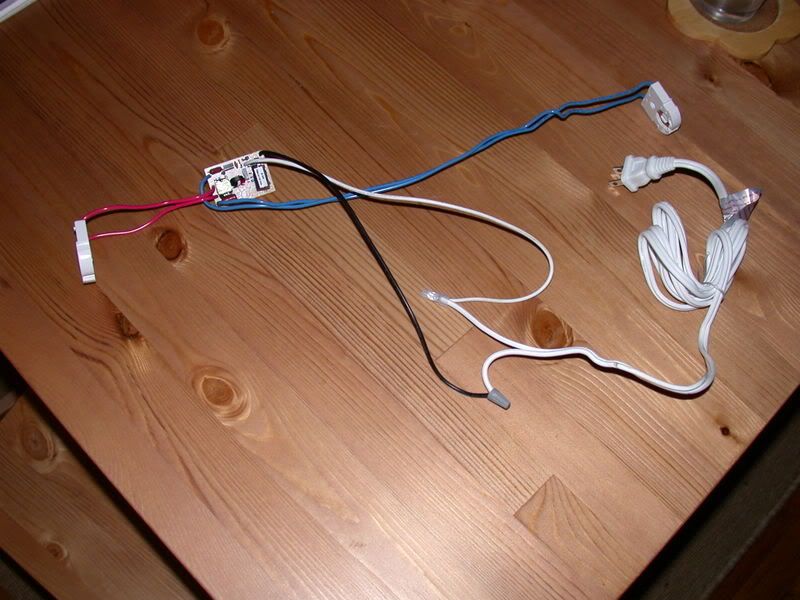
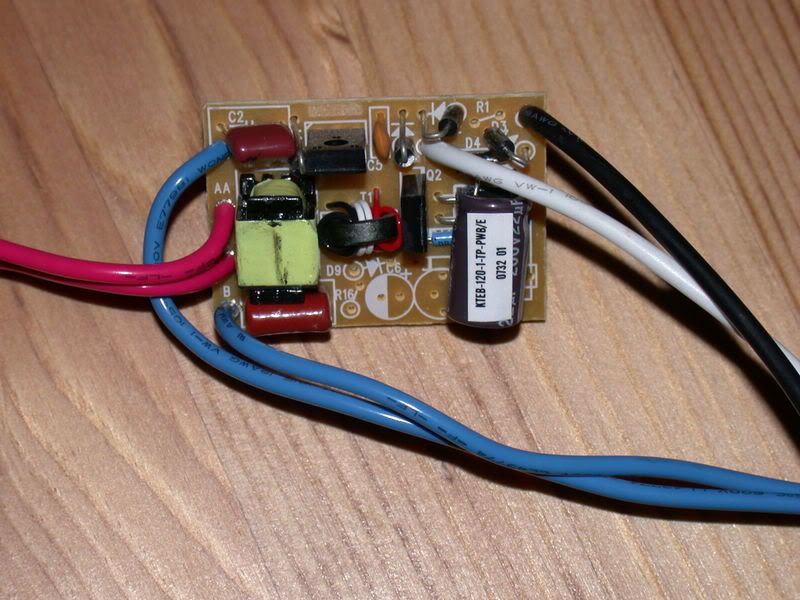
The lighting fixture was assembled using the end caps and ballasts ripped from $8 fixtures from Home Depot. In addition, reflectors from the local weed grower store were added. The bulbs were upgraded to a more plant friendly full spectrum bulb. It is important to shield the ballasts to avoid unnecessary replacements and a smoky house.


That's it. Nothing more than filter, heater, water movement and a bit of light!

Tuesday, April 8, 2008

Is There Life on Mars?

Just a teaser of what I've been working on...

Thursday, April 3, 2008

Almost finished!

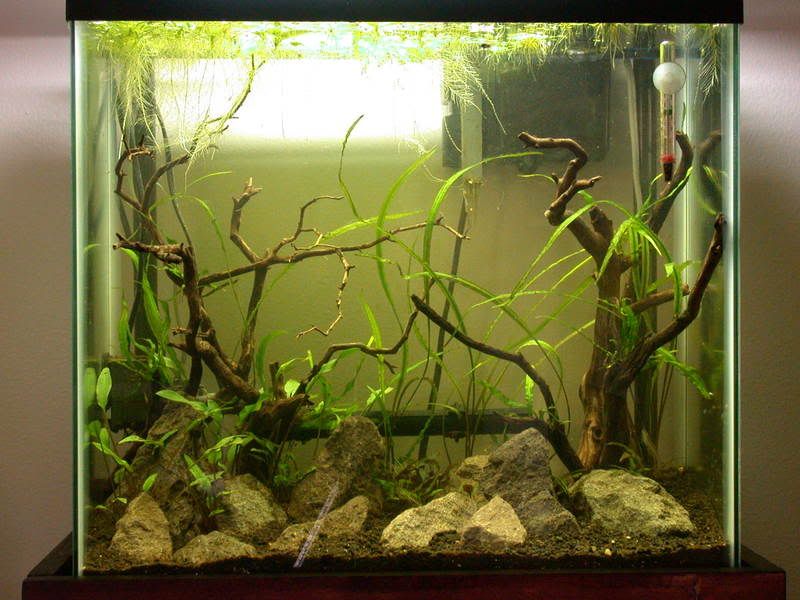
Update on the tank: the stand has been polyed and leveled, the lighting hardware has been attached, and the tank has been planted!

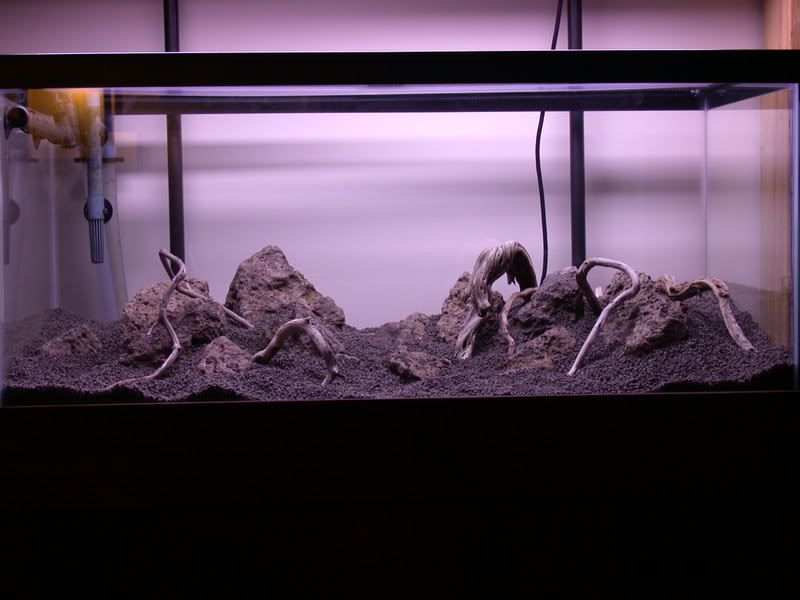
I'm using a substrate that is a mixture of eco-complete and topsoil, with a layer of pure eco-complete on top. The topsoil will provide additional nutrients to the rooted plants, and as the rooting plants I'm using (cryptocorynes) hate change, hopefully it will provide them with a greater degree of stability.

The hardscape is manzanita branches and basalt. The plants used so far are cryptocoryne spiralis, cryptocoryne wendtii "red", and narrow leaf java fern, as well as various floating plants.


And here is the complete set up with the hanging lights:


Once more plants have been added, and have had time to stabilize and grow, it will be time to start adding fish!

Sunday, March 9, 2008

More progress on the stand

Quite a bit of work on the stand this weekend. I finished attaching the trim, countersunk the nails, puttied them in, sanded the entire thing and stained it.


This tank previously had a painted background. I have been thinking of removing it, but the move made the decision for me:


Luckily, Krylon Fuzion comes off of glass well. It requires some time and effort, but comes off clean and scratch free. The tank actually managed to be moved 4300 miles across the country in a U-Haul without receiving a scratch or crack.


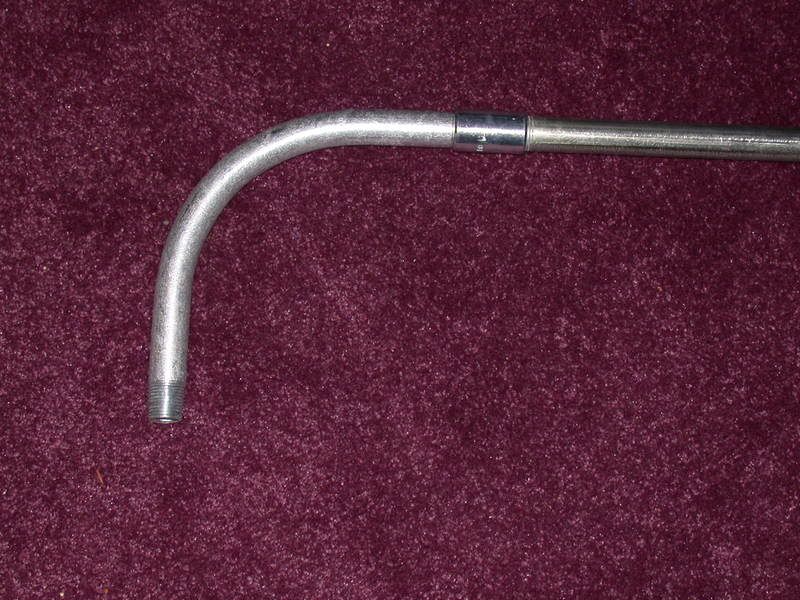
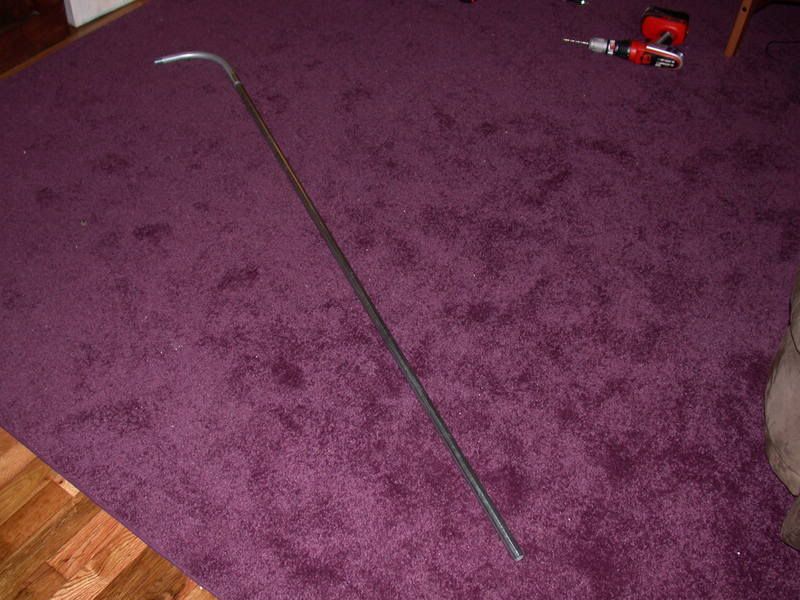
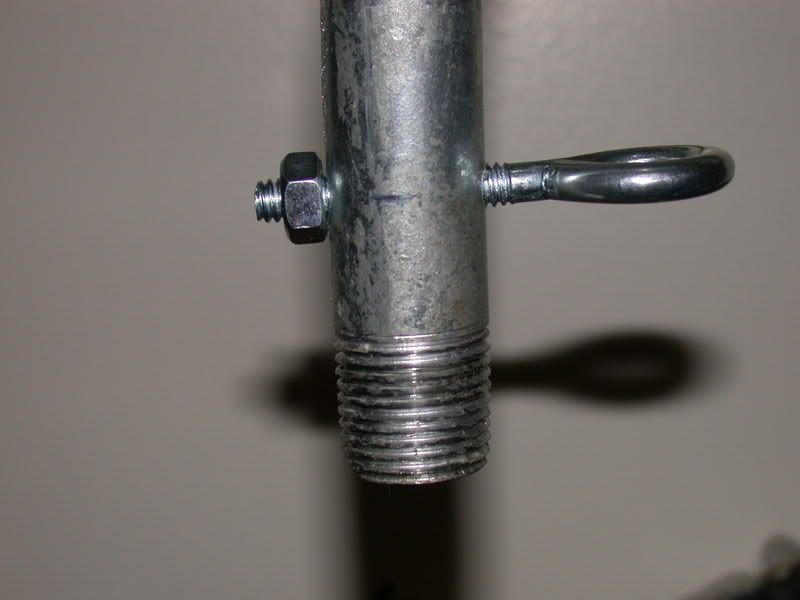
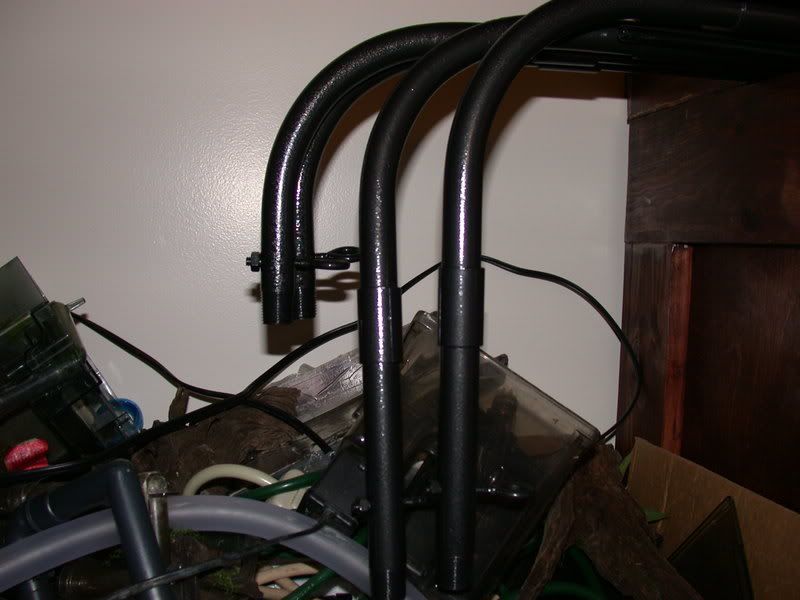
I also started putting together the fixtures to hang the light. I am using ridged electrical conduit for the task.


It is a really nice solution, just add some eye hooks and black spraypaint for an elegant fixture.


Sunday, March 2, 2008

More work on the new stand

I managed to get some more work done on the stand for the new tank today. Not as much as hoped, but it continues to move along.
I added a plywood "skin" to the 2x4 frame:


Unfortunately, there was a bit of a measuring error, but it will be hidden in the next step:


I then began to add the trim boards, which conveniently hide any sloppy work and make the whole thing look nicer in general.


Hopefully by the end of the week I will be able to start staining and sealing.